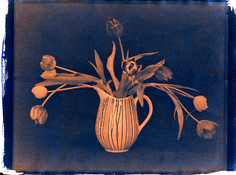
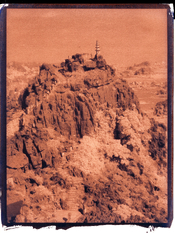
@BJ68: I was unaware of your work and I went through your writeup to learn more about it (in English translation as I am not familiar with German). You seem to have a flair for doing interesting chemistry experiments!
The process
@BJ68 has described in his writeup is very interesting and his prints very evidently contain both Copper Ferrocyanide (CF) and Prussian Blue (PB).
In my exploration to blend CF and PB, I designed and tested several ways to make prints that contain both CF and PB and arrived at the process described in OP. I'll discuss these in the rest of this note. I can post example prints in the future if there is interest. Each of the approaches has different complexity, tonal range, colour palette and aesthetic feel. Hopefully, the discussion will make it easy for all of us to understand how
@BJ68's work relates to mine and equally importantly, how my work (OP) is different from his.
#1: A rather naive approach to make a print containing both CF and PB is to first make a Cyanotype print and then add a thin layer of CF stain on the top of the print using Cor's copper printing process. This adds a bit of warmth to the blue image noticeably so in the highlights. As long as the CF stain is reasonably thin, the print can be interesting. If one is creative, one can add the CF stain selectively to local areas.However, this approach doesn't blend CF and BF imagewise.
#2: Another approach is to make a two layered print. First make the Cuprotype print (
Patterson's process or
Cor's Copper Print). When the processed print is dry, coat with Cyanotype sensitiser, register with the negative and make a Cyanotype print on top of Cuprotype. This is a flexible approach that gives a lot of control to the printmaker to vary the degree of blending. However, this approach is more complicated and time consuming than other approaches.
#3-a: A somewhat more refined approach than #1 is add small amounts of Cor's Copper Print sensitiser to Classic Cyanotype sensitiser. This produces blue prints with warm highlights and the results can be good if processed properly. However, the coated paper starts fogging in the dark as soon as it is dry. To avoid excessive general CF stain, the coated paper must be exposed and processed quickly.
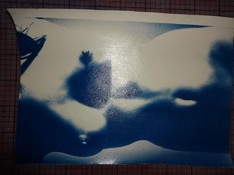
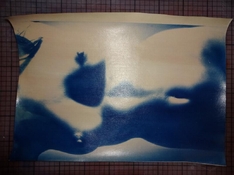
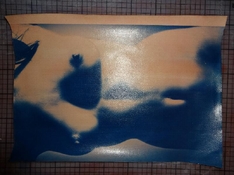
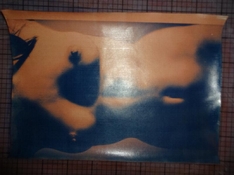
@BJ68's approach is essentially same as #3-a except that the two sensitisers are coated sequentially instead of mixing them together before coating. I've tested that both ways of coating produce identical results. Here's how #3-a coated paper appears after exposure.
@BJ68 uses water development (no acid in the water) which results in very substantial loss of pigments giving an interesting faded look that works could work nicely for some subjects. Here is a #3-a process result with water development that shows the faded look:
If the exposed paper is instead developed in dilute Citric Aicd, loss of pigments is less and overall tonality is better.
#3-b: We can work the other way around too, i.e. add small amounts of Classic Cyanotype sensitiser to Cor's Copper Print sensitiser. This produces purplish brown prints which can be interesting for some subjects. The coated paper fogs quickly though.
#4: A middle ground can be reached by using equal volume of Classic Cyanotype sensitiser and Cor's Copper Print sensitiser. This approach also suffers from the curse of stain like #3-a and #3-b, but can give nice results when developed in dilute Sulphamic Acid. However, the results can be unpredictable and vary significantly with the amount of Sulphamic Acid used in the developer and the time spent in the developer.
I may make a separate post on #4 in the future if I can tweak it further to get consistently good results.

#5: A very different approach from all the above approaches is to make a Cyanotype exposure and add CF imagewise to the printed-out image via development in a Copper complex. This has the potential to blend PF and CF throughout the exposure scale, produce higher DMax and longer tonal scale than Classic Cyanotype. OP is the culmination of my efforts to realise this goal and solve a number of quirky problems that arose on the way to making successful prints.
Further, as #5 works well with brush development, it opens the possibility to selectively develop local areas in the print leading to interesting artistic possibilities.
All the approaches discussed above offer tools to make interesting prints. Having worked with all these approaches, I prefer #5 (OP) over others for the reasons I have discussed. I hope OP and this discussion will be of help to artists in this forum who want to try this process and make interesting prints.


